
This is where the command line stops being a classroom exercise. Servers have no graphical interface: no Finder, no File Explorer, no app windows. If you want to deploy code, install software or read a log on a server, you do it through a shell. And you reach that shell with SSH.
In this guide you will rent a server on AWS, connect to it over SSH, and put your own page on the internet with nginx.
What SSH actually is
Servers are just computers without a screen. Even a modern washing machine with Wi-Fi has a small computer inside, and the way you'd configure or update it is by connecting to its shell.
SSH (Secure Shell) lets the shell on your laptop open a session to the shell on another machine. Once connected, it feels exactly like sitting in front of that server and typing.
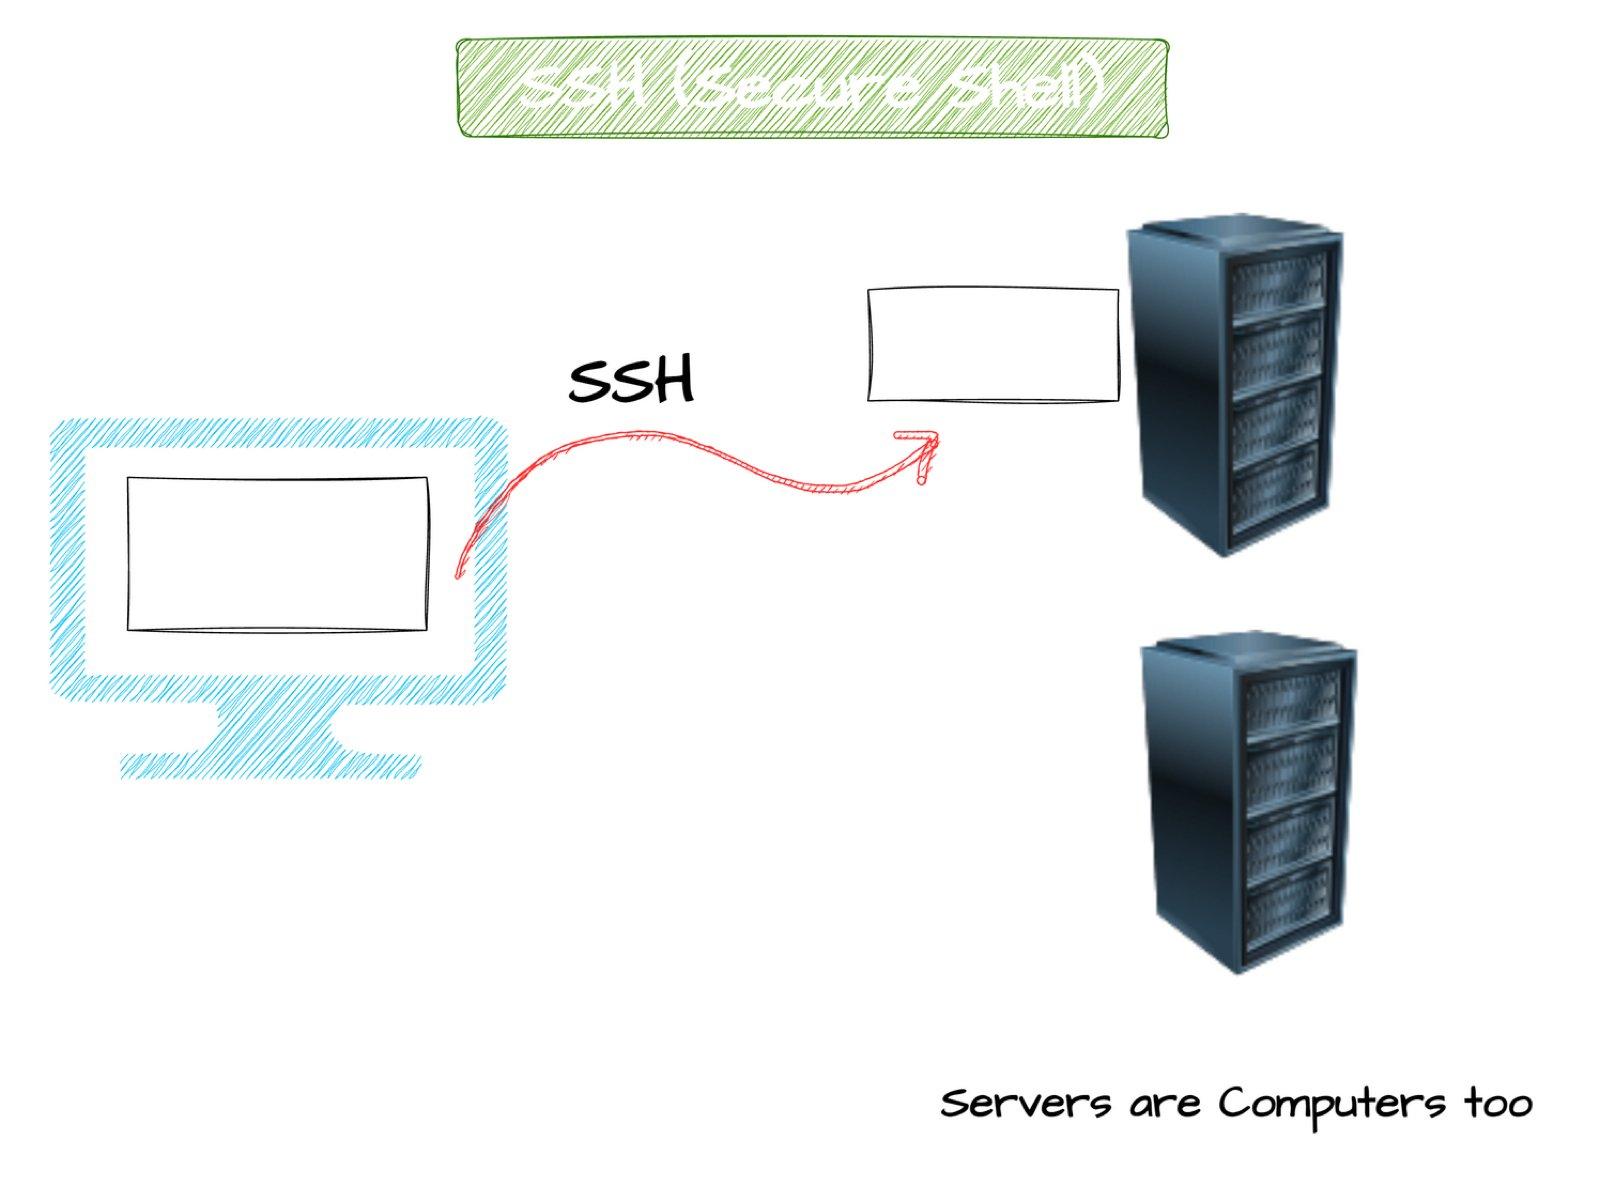
To connect, your laptop and the server must be on the same local network, or the server must be reachable on the public internet. An AWS EC2 instance gets a public address, so we can connect from anywhere.
Passwords vs key pairs
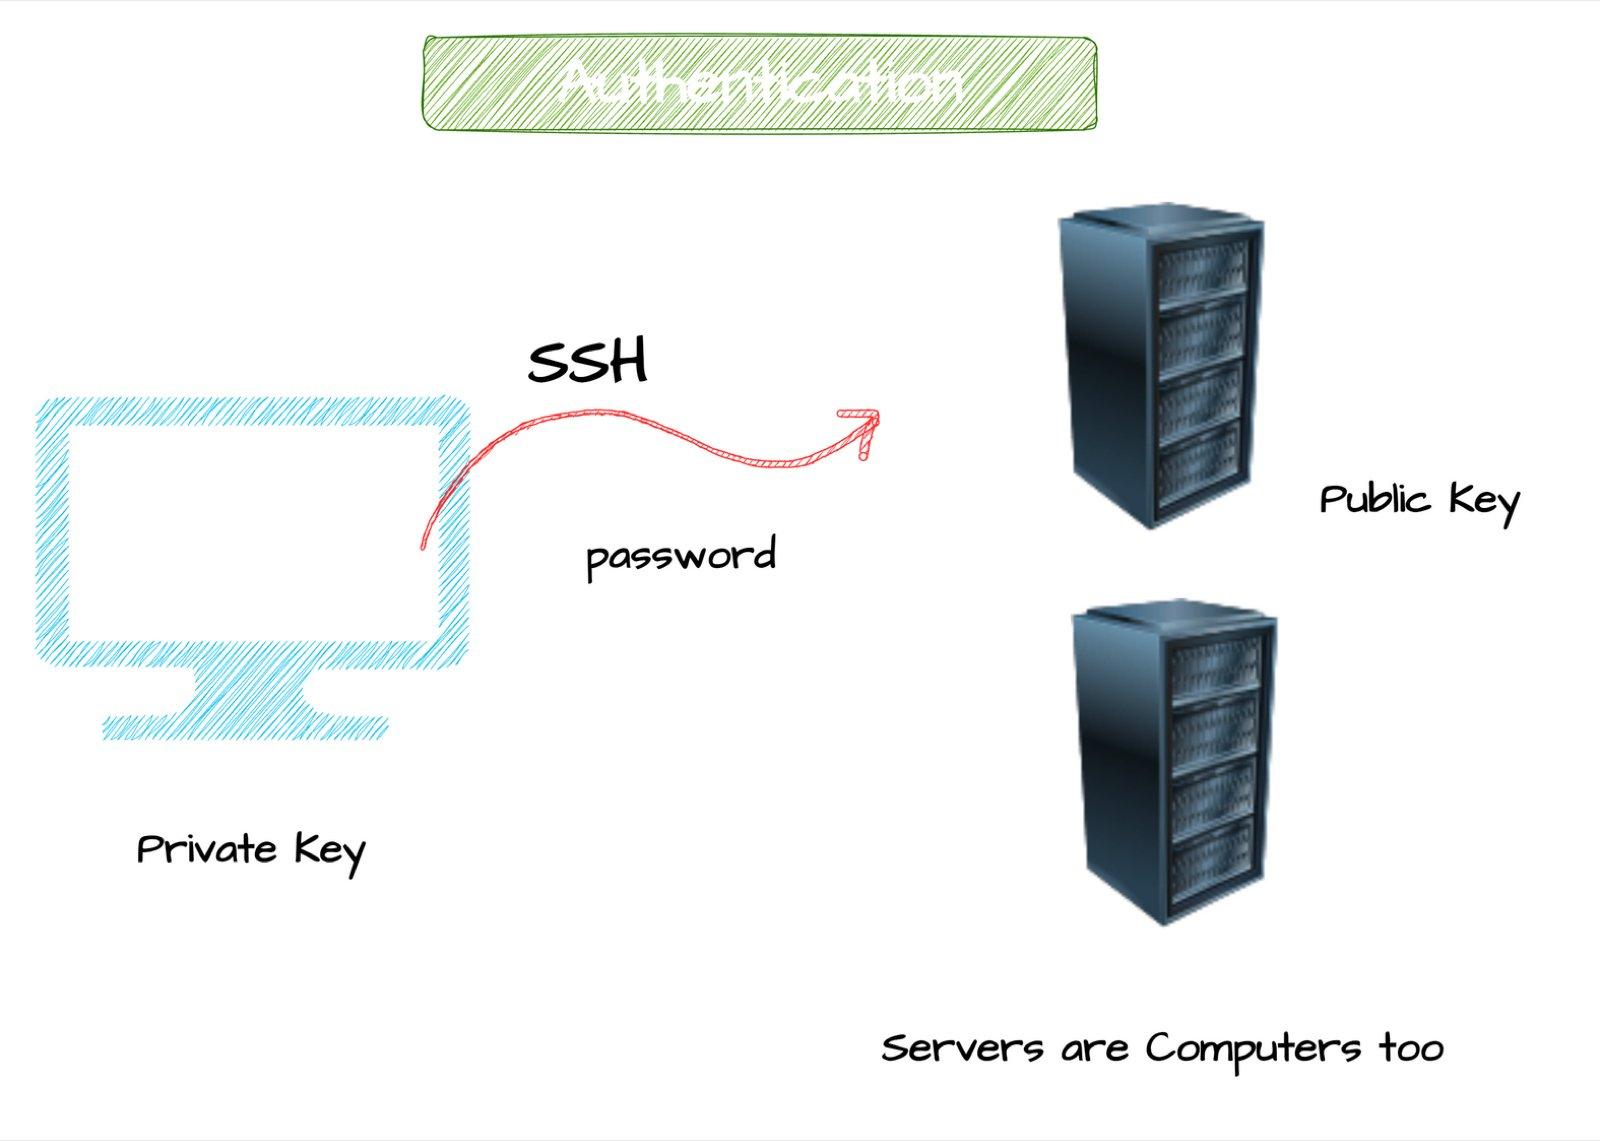
There are two ways to prove who you are:
- Password: username + password. Simple, and weak.
- Key pair: two matching keys. The public key lives on the server. The private key stays with you, and whoever holds it can log in. Much safer, and what AWS uses.
1. Launch an EC2 instance
In the AWS console, search for EC2, then Instances → Launch instance. If your account is new, everything below fits in the free tier.
- Region: pick the one closest to you (top right). From India that's Mumbai,
ap-south-1. - Operating system: Amazon Linux.
- Instance type: the free-tier eligible one (1 vCPU, 1 GB RAM is plenty).
- Key pair: Create new key pair, name it
test, keep RSA and.pem. Your browser downloadstest.pem. That file is your private key. - Network settings: allow SSH (port 22), and also HTTP (80) and HTTPS (443) for the web server later.
- Launch, then refresh until the state says Running.
Click the instance, then Connect → SSH client. AWS shows you the exact commands. Here is what they mean.
2. Lock down the key: chmod 400
chmod 400 test.pem400 means read-only for you, nothing for anyone else. SSH refuses to use a private key that other users can read, so this step isn't optional.
3. Connect with ssh -i
ssh -i test.pem ec2-user@<your-instance-public-dns>-i test.pemis your identity file (the private key).ec2-useris the default user Amazon Linux creates.- After
@comes the server's public DNS name or IP address.
The first time, SSH asks whether you trust this new host. Type yes. Then the prompt changes, because you are now typing on the server:
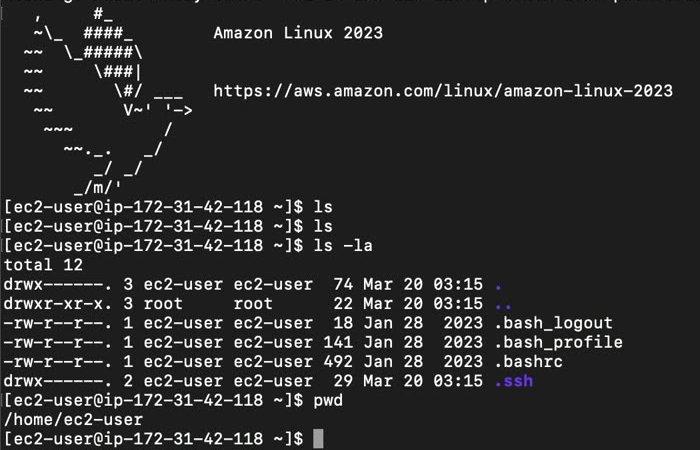
Three things are always needed to connect: the address, the username, and the password or private key. Type exit to come back to your own machine.
4. Install and start nginx
Amazon Linux uses the yum package manager, the server's app store. First update everything, then install nginx:
Start it, and check it's running with systemctl, the remote control for services:
sudo systemctl start nginx
sudo systemctl status nginx    # look for: active (running)
Open your instance's public address in a browser and you'll see the nginx welcome page. nginx listens on port 80, which you opened when you launched the instance.
5. Put your own page online
nginx serves its default page from /usr/share/nginx/html:
cd /usr/share/nginx/html
ls                          # index.html is the page you just saw
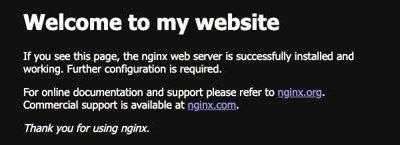
sudo nano index.html        # change the <h1> to: Welcome to my website
sudo systemctl restart nginx
Refresh the browser:
Key takeaways
- ✓SSH gives you a shell on a remote machine. Servers are managed this way.
- ✓Key pairs beat passwords: public key on the server, private key with you.
- ✓chmod 400 your .pem file, then ssh -i key.pem user@host.
- ✓yum installs software, systemctl starts and checks services, sudo !! reruns with sudo.
From zero to a live server
CLI Mastery is built for exactly this moment: 57 lessons that take you from your first terminal command to configuring a real web server on AWS, without memorising anything blindly. Watch the free lesson to see how it's taught.